
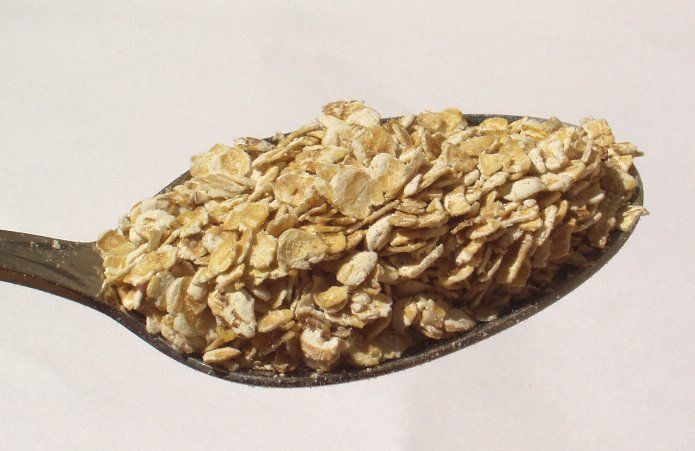
Rolled oats
by Cat, Aug 2011 (Photo, right, from Wikimedia Commons)
- See also: 1. Soaking & Sprouting Grains Before/After Grinding/Rolling; 2. Intro: Soaking/Sprouting Grains, Legumes, Nuts & Seeds
- Includes: 1. Benefits of Fresh-Grinding/Rolling Grains; 2. Method for grinding or rolling (flaking)
Benefits of Fresh-Grinding/Rolling Grains
After the groat/berry has been ground or rolled, much of its protection from oxidation is disturbed, plus more surface area is exposed to oxygen in the air. It doesn’t take much time for the oils in the grain to be oxidized, form free radicals, and turn rancid.
This article provides instructions for using a Country Living Mill grinding or flaking attachment for a Kitchen-Aid mixer. Other brands of mixers and attachments probably work similarly, but please consult the instructions that come with yours, to be safe.
See my article on the ESP website “The Importance of Grinding Your Own Flour” for lots more on this topic.
Method for Grinding or Rolling
- 1 cup groats produces 1 ¾ – 2 cups rolled grain.
- 1 cup groats produces 1 ½- 1 ¾ cups flour (depending on type of grain and degree of fineness)
I have a Family Grain Mill & Roller/Flaker Mill that can be hand operated, or attached to my Kitchen-Aid stand mixer (with an adapter). It doesn’t really ‘roll’ the grain (simply flatten the groat), it ‘flakes’ the grain,* meaning that it punctures the groats in the process of flattening. While these flakes produce just as good porridge as rolled groats, the puncturing may increase the rate of oxidation, so should only flake right before cooking.
To grind or roll grain with a Kitchen-Aid or other mixer and attachment (from e-How):
- Affix attachment per attachment instructions. Affix funnel (5 cup hopper).
- Plug in the mixer.
- Add groats/berries to hopper – never run mill or flaker without grain.
- Start the mixer running at the speed recommended by the manufacturer. Different attachments require different speed settings (see below).
- Add more groats/berries to hopper, as needed. Stop mixer as soon as empty
- Use the supplied tool to push food into the attachment, if necessary.
- Turn off the mixer when all food has been processed, but don’t let it run for more than 1 second dry.
Speed settings for my Country Living grinder and flaker, used with Kitchen Aid mixer (from e-How):
- speed 10 for the grain mill (does this include the flaker?)
- speed 10 for pasta maker;
- Speed 2 for the can opener;
- speed 4 for the food grinder, slicer and shredder, pasta roller, and fruit and vegetable strainer;
- speed 6 for the citrus juicer
My friend Shelli advises using a lower setting such as ‘2’ for grinding or rolling, to avoid burning out the motor. I contacted Pleasant Hill Grain for clarification. They advise that the higher speeds are OK as long as you don’t grind/flake too much at one time. When the mill starts to get warm, it’s time to stop.
* NOTE about ‘flaking’ vs commercially flaked (shaped) breakfast cereals like Wheaties and Corn Flakes: The term ‘Flaking’ as used above is not the same process used to produce Wheaties or Corn Flakes. A commercial flaker requires an industrial facility that can apply very high pressure. That method can be summarized as follows: First the grain is ground, and then cooked with a liquid until a paste is formed. The paste is then forced under high pressure through a device that forms the paste into the desired shape – flakes, puffs, O’s, etc.. Once formed, it is allowed to dry before packaging. This industrial process introduces a lot of oxidation to the grain, so that the fragile oils in the grain become rancid, and the proteins are destructed.
References:
- Nourishing Traditions, by Sally Fallon and Mary G. Enig
- essentialstuff.org/index.php/2011/05/22/Cat/the-importance-of-grinding-your-own-flour/
- ehow.com/how_5585365_use-kitchenaid-attachments.html