
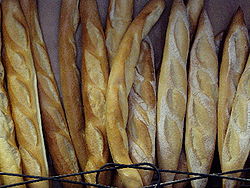
Baguette, at market
By Cat, Sep 2010 (Photo, right, from Wikimedia Commons)
- Includes: 1. Mini Baguette; 2. Make ahead instructions; 3. Two methods to provide steam in a home oven
- See also: 1. Bread Basics (Yeast-Leavened Breads); 2. Le Pain Ordinaire; 3. Bread & Rolls Menu
Back in the ’70s I became interested in learning French, so I could read a French menu. Coincidentally, an art-film theatre opened in my neighborhood, featuring French, Italian and other foreign language films with subtitles. I kept hoping some of the languages would rub off on me. One of these films (I can no longer remember the title) has a scene where the main character, a woman, walks into a boulangerie, then walks back out with a long loaf of French baguette over her shoulder. She takes a few steps and cannot resist turning her head to the side, to take a big bite off the end of the loaf.
That scene created a longing in me for authentic French Bread – not the American version typically served as garlic toast to accompany a spaghetti dinner. Not long after this life-changing event, a bakery opened up in my neighborhood, that made authentic French bread in tiled, wood-fired ovens. Oh-my-God! what a treat! Crisp, slightly salty crust, soft & wonderful interior. I was hooked.
First Attempts

Baguette: A French Tradition
(Photo, left, from Wikimedia Commons)
Of course I had to try making this bread at home; I never really got it quite right, perhaps because I did not have the right equipment or ingredients, but the experimentation was great fun.
The first recipe I tried was French Bread (Pain Ordinaire) from The Vegetarian Epicure, by Anna Thomas (3), with ideas from recipes at the Portland library. (See Le Pain Ordinaries for my adaptation] One problem was that my loaves would rise laterally rather than vertically, probably because I could not find bread flour. So I bought a baking pan with rounded bottom, to contain the sides of the loaf while rising and baking, but I was not happy with that result either. Other problems included:
- I didn’t have a scale to weight my ingredients, so I used the less accurate volume measurements;
- I didn’t realize that the dough should be sticky, and worked in too much flour to get past the sticky stage;
- Portland’s water was chlorinated and I didn’t have a filter to remove that;
- My inability to keep enough steam in the electric oven while baking, so the crust would not get as crisp as it should be.
Eventually I gave up, as it became easier to find baguette in the grocery store – not quite as good as what I had from a real French bakery in San Francisco, but good enough. And by the ’90s, bakeries featuring rustic and French-style breads, with wood-fired brick ovens, opened up in my neighborhood.
Now that I’m living in rural Montana, real baguette is not so readily available – it’s more like what I could find in Portland in the ’80s. So I’d like to try making it again – and now I can get hard wheat flour (Wheat Montana’s Prairie Gold white whole wheat) as well as unbleached white bread flour. And I have a gas oven which works better for breads than electric.
Mini Baguettes
This recipe is adapted from Fine Cooking.com, originally by Allison Ehri Kreitler (1). She suggests her 6-mini loaves are a good way to start, because it gives you 6 opportunities to practice the art and get it right. Check out the original recipe for great photos of each step in the process.
She also suggests that for best results, you should weigh the flour and water, rather than use volume measures. [Ah, yes, this is another reason why my early attempts failed – I didn’t have a good kitchen scale, so I used unreliable volume measurements.] This is something not typical of American recipes, but I do agree it is more accurate. Once you get the hang of it, and know what the dough feels like when the flour and water are in proper proportion, you can do this by feel, rather than weighing.
The recipe produces a very sticky dough, typical of European rustic breads. When working with the dough, lightly flour your fingers, just enough to keep the dough from sticking too much. Avoid adding too much flour as it will spoil the texture and rise of the final loaf. [And this is another reason why early attempts failed – I worked-in too much flour in attempt to get past that sticky stage.]
The list of ingredients is very short – a sign that this is an authentic recipe. I recommend making this with all white bread flour the first time, to get the hang of it (Gold Medal or King Arthur were tested by the original author). She cautions that artisan bread flours typically have a higher protein content and may require more water, so best not to use that your first time; same is true for most whole grain flours. After you get the technique down, you can try artisan flours, adding whole grain flour, or even a whole-grain flour pre-ferment (see the ciabatta recipe for hints on the pre-ferment method).
Notes about Ingredients:
Do not use all-purpose flour for this recipe. You need hard wheat flour, preferably unbleached. I don’t recommend bread flour because it contains toxic bleaching ingredients (bromine).
For preparing pans for baking: use Organic cornmeal to avoid GMOs; Bob’s Red Mill brand cornmeal is GMO-free, per their statement on their website. Or use semolina flour (I buy this in bulk at our local Organic store, Mountain Valley Foods). See Wheat (about) for more about semolina.
I’ve not yet tested this recipe.
Ingredients & Equipment:
- 16 oz (about 3 ⅓ cups) hard wheat unbleached white flour, plus more for dusting (see Notes about ingredients, above, for more)
- 2 ½ tsp active dry yeast
- 1 ½ tsp fine Unrefined sea salt
- 12 oz by weight (about 1 ½ cups) lukewarm filtered water
- Semolina or fine cornmeal for sprinkling on the baking sheet (see Notes about ingredients, above).
- Equipment
- scale (to weigh flour, water)
- stand mixer fitted with dough hook
- wooden spoon
- flexible rubber or silicone spatula
- dough scraper
- cotton or linen flat-weave dish towel (to cover bowl)
- large cotton or linen flat-weave dish towel (for shaping loaves)
- two heavy-duty 18″ x 13″ rimmed baking sheets or jelly roll pans
- spray bottle for water
Method
- Weigh flour (16 oz), then mix in yeast and salt with a wooden spoon in bowl of stand mixer (or large bowl).
- Weigh 12 oz of lukewarm filtered water, and add to flour mixture. Mix on medium-low speed for 1 minute (or longer, with wooden spoon, at least 100 strokes).
- Scrape the sides and bottom of the bowl and dough hook with flexible spatula. Dough will be very sticky.
- Resume mixing, then scrape as in previous step, every two minutes, 3 – 4 more times.
- Remove dough hook; scrape any dough off hook into bowl. Lightly flour a work surface, then scrape all the dough out of the bowl onto surface. Dough will be very wet and sticky. Lightly flour dough and your fingers.
- Pick up one side of the dough and fold toward the center, pressing the edge down firmly into the center with your fingertips after each fold. Repeat all the way around the mound of dough, about 7 times. Tip: To get dough off your fingers, just rub them together with a little flour over the sink or garbage can.
- Rise & Shape
- First Rise: When you have completed the folding, lift dough from work surface with a wide spatula or dough scraper, then put it seam-side down in a medium bowl. Cover with cotton or linen dish towel (flat-weave), and let dough rest in a warm, draft-free spot until it nearly doubles in size, 1 – 2 hours.
- Rough Shape: Line baking sheet with large towel; generously flour the entire surface of the towel. This towel will be used to hold the 6 skinny lengths of dough in place while they rise again.
- Lightly flour work surface; scrape dough from bowl to surface. Smooth top side down. Again you fold from side to center, but in a different pattern. Fold one side of dough into middle, pressing down firmly along the length of the seam. Fold again on the opposite side, pressing down firmly along length of seam. This forms a rectangle.
- Turn dough over so smooth side is up. Using bowl scraper cut dough into 6 equal pieces by making 1 lengthwise and 2-crosswise cuts. Weigh them; each should be about 4 ¾ oz. If they are not of equal weight, cut off a bit of dough from heavier pieces and tuck it under the lighter pieces.
- Fine Shape: Tip: Check out this video on how to shape baguettes (by original author of this recipe). Make a line of flour on work surface to dredge the baguettes after they are shaped. Lightly flour an area of your working surface; working with one piece of dough at a time, put it smooth-side down on surface, and begin shaping with lightly floured fingertips:
- Press piece of dough into a rectangle about ⅓ inch thick.
- Fold a long edge of dough into center, pressing firmly with fingertips along the seam to seal from one end to the other. Fold other long edge into center in the same way.
- Continue to fold and press alternate edges until the baguette is 11 – 12 inches long, about 5 or 6 folds.
- Dredge smooth side of dough (seam up) in the line of flour.
- Set floured side up (seam down) on the towel near one end of baking sheet. Make a little fold in the towel to separate it from the next baguette.
- Repeat with remaining pieces of dough, to make 6 baguettes total, and separating each with a fold of the towel. In this way, they will give each other support as they rise.
- When all are formed, cover with dish towel and let sit until roughly doubled in size, 1 – 1 ½ hours.
- Ready oven for baking NOTE: this assumes that all 6 loaves will bake at the same time, 3 on top rack and 3 on bottom. I would prefer to bake 3 at a time, mainly because my oven is small and it would be hard to spray water on bottom and sides; and because the heat would not be evenly distributed. Whether 3 or 6 at a time, I would prefer the alternate method of providing steam; see below the main instructions.
- While dough rests, position racks in the top and bottom thirds of the oven. If using steam method #2, place baking pan or cast iron skillet at bottom of oven and preheat oven and pan to 500° F.
- Sprinkle semolina or corn meal generously on the two heavy-duty baking sheets.
- Pre-Bake: When baguettes are ready, carefully transfer each to the baking sheets with your hands, arranging 3 lengthwise per sheet.
- With a thin, very sharp knife, make 4 or 5 slashes on a sharp diagonal, ⅛ to ¼ inch deep, on the tops of each baguettes. NOTE: if you knife is not ultra sharp, you will deflate the dough while trying to make the slashes.
- If using steam method #1, fill a spray bottle with water.
- Place baking sheet(s) with loaves in oven. If using 2 sheets, I recommend baking them separately, but you can put one on lower rack and one on upper rack. depending on chosen steam method, provide water for the steam and close oven door.
- After 5 – 6 minutes, open oven, turn loaves over; if you have loaves on both racks, swap their positions. Spray or replenish pan with water and close the door.
- NOTE: you can make ahead this far, then freeze for later use. See Make Ahead Instructions, below, for details.
- Final Bake (if not freezing for later)
- 7. Remove baguettes from baking sheets and put them, scored side up, directly on oven racks. Bake until dark golden and brown, about 5 minutes more. Transfer to rack to cool.
- Make ahead instructions:
- Pre-bake for first 11 minutes (see ‘Pre-Bake’ above).
- Remove from oven and cool completely on rack. Package for freezing; freeze up to one month.
- To finish baking: preheat oven to 450° F; place frozen baguettes onto oven racks to bake until dark golden brown, about 10 minutes.
Two methods to provide steam in the oven
A moist baking environment is essential for the cripsy crust of baguette, and of rustic breads. Some newer ovens have a feature to provide steam in the oven. If you don’t have such a feature, there are two ways to provide steam while your bread bakes.
Steam method #1: Spray bottle
This is the method from the Fine Cooking recipe (1). I have tried this method, but I think the second method (below) works better)
Caution: Use oven mitt that covers lower arm, while spraying water
- Have a spray bottle filled with water at the ready.
- After oven is fully heated to 500°F, and just before putting your loaves in the oven, spray the bottom and sides of the oven. Quickly place the baking sheet(s) with their loaves on the oven rack(s). Spray oven bottom and sides once more (you might also spray the tops of the loaves), and close the oven door.
- For this recipe, reduce heat to 475°F.
- After 5 – 6 minutes, turn the loaves over on their baking sheets. If you have loaves on both racks, swap their positions and then spray once more. Close the door and for this recipe, bake 5 minutes more.
Steam method #2: skillet or baking pan
This method is mostly from The Fresh Loaf’s recipe for ciabatta integral (2),but rather than using boiling water as per The Fresh Loaf, I use ice water (it will quickly steam in the hot oven), as for Ciabatta and rustic breads. See also my recipe: Ciabatta Integrale (whole grain).
Caution: Use oven mitt that covers lower arm, while adding water to pan.
- Place an old metal baking pan or cast iron skillet on floor of oven, and let it heat (empty) while oven is preheating to 500° F.
- Place bread in oven, then pour ice water into pan, enough to almost fill the pan. Quickly close door.
- For this recipe, reduce oven to baking temperature to 475° F.
- After 5 – 6 minutes, turn the loaves over on their baking sheets. If you have loaves on both racks, swap their positions and add more ice water to pan, if needed.
- Close the door and for this recipe, bake 5 minutes more.
References
- Fine Cooking.com recipe, originally by Allison Ehri Kreitler (finecooking.com/recipes/homemade-mini-baguettes.aspx)
- The Fresh Loaf, ciabatta recipe with alternated method of steaming oven (thefreshloaf.com/recipes/wholewheatciabatta
- The Vegetarian Epicure, by Anna Thomas (see Beloved Cookbooks for more about this book)
- Etsy image (img0.etsystatic.com/000/0/6283669/il_fullxfull.242976172.jpg)
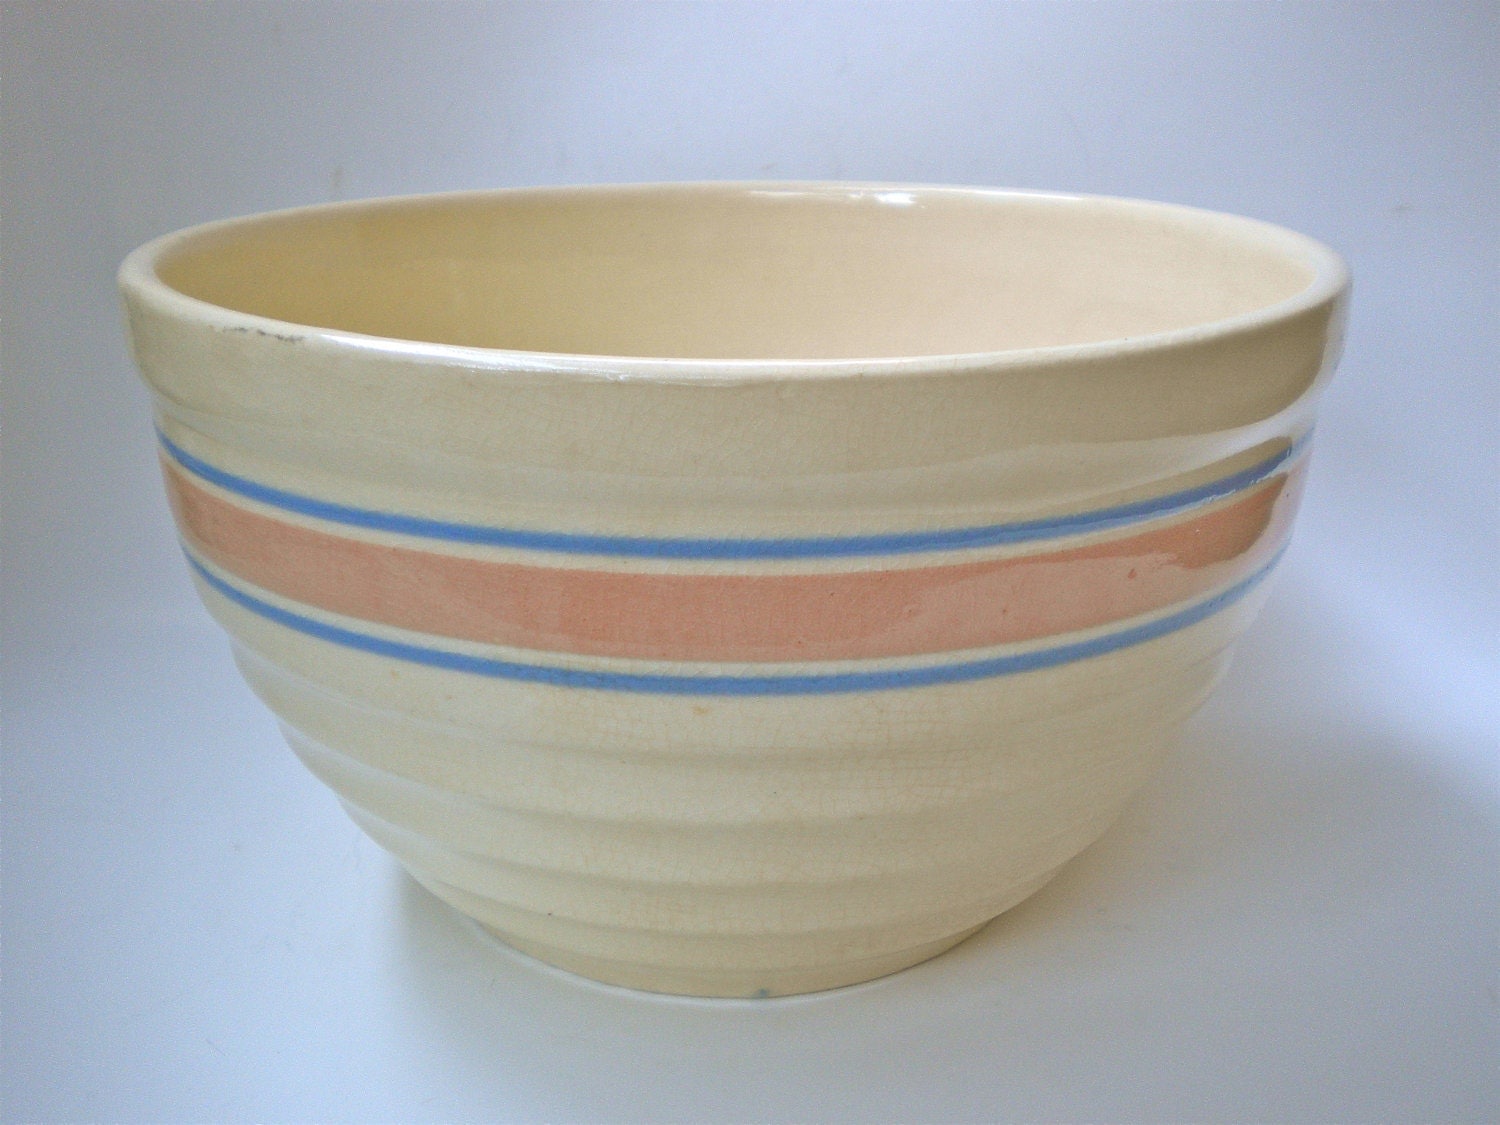